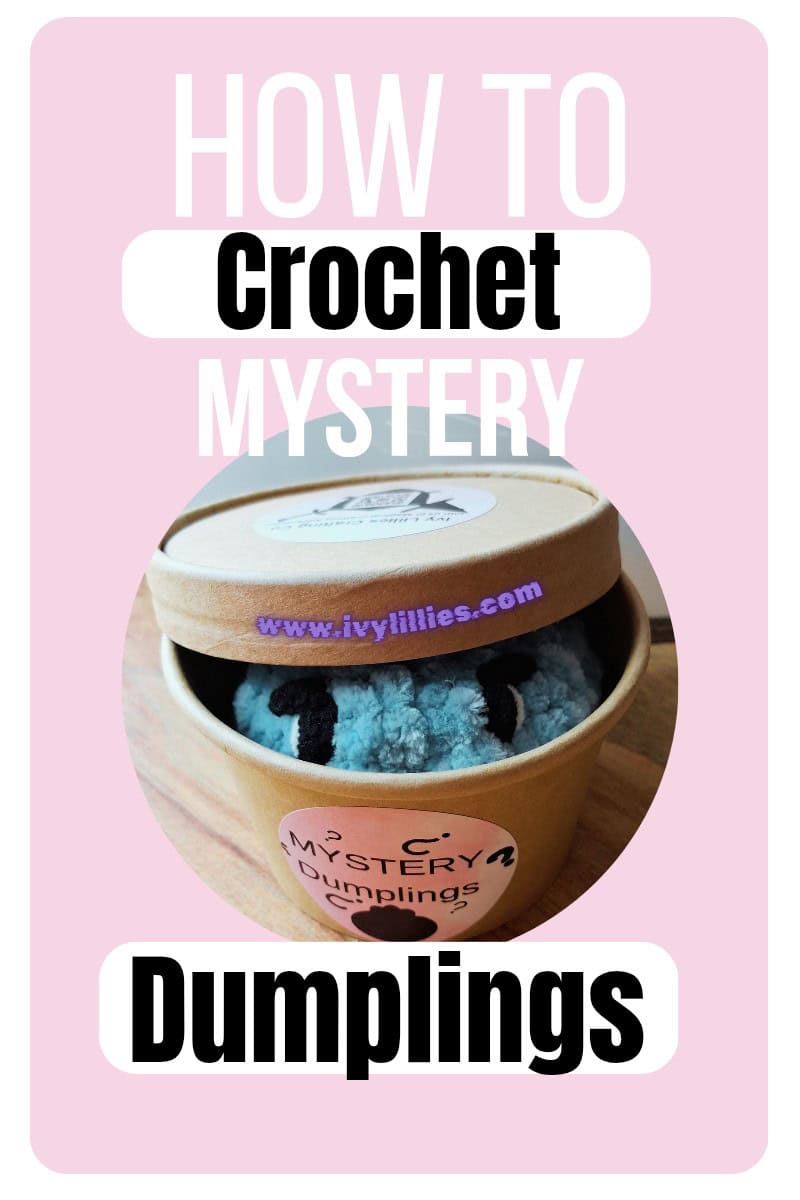
If you want to make the cutest little Dumpling you’ve ever seen, grab your hooks and yarn, because we are here to crochet Mystery Dumpling.
Some links may be affiliate links, which means we may get compensated at no extra cost to you if you make a purchase through a link. Please refer to our disclosures for further information. https://ivylillies.com/disclosures/

Come crochet Mystery Dumplings and never worry about them exploding.
Welcome Magical Crafters, as you see, we have our first ever, Crochet pattern coming out. I am beyond excited to share this pattern with you. And I figured I would share the Dumpling pattern with you that I created for my markets. They had their first outing at Geek’d Con Shreveport 2026, and I’d say they did pretty well. There is a Geek’d Con market video up on the YouTube Channel, Ivy Lillies, if you’d like to check it out. And we have more market videos coming soon if that’s your Jam to watch, because I love to watch other market videos too.
Ok, let’s get back on topic, we are making a Crochet Mystery Dumpling, obviously it’s not a mystery to us as we are creating it, but once you’re done, and place them in the containers, you won’t know the colors anymore, so in a way it will be a mystery. Now, I know there are Mystery Dumpling crochet patterns popping up everywhere now, but I created mine way back in April because my kiddo requested it, and she didn’t want it to look like the food dumplings, she specifically requested it to have lines on the top to look like the Viral Mystery Dumplings you get from the stores. Fair enough. So, if you were wondering why mine looks like it does, theirs the backstory of its birth.
Now on to the good part, the Materials List…
- Yarn- I use the Hobby Lobby Baby Bee Yarn (1 skein will make 6 dumplings)
- 4.5mm hook size
- black and white yarn for embroidery (eyes, mouth, and top details)
- embroidery sewing needle
- scissors
- stitch marker (for keeping track of rows and stitch counts)
- Polypill – stuffing to stuff the dumpling
- Brown Soup Cups (optional but highly recommended for easy container option)
For the pattern, I have a simple free version down below for you, nothing fancy and to be honest, it works out the same. But I do have a PDF version including pictures for reference during the crochet process, if you would like to purchase and download, print off for future making. You can get that here in the Shop.
Also, if you are a visual learner, I have a video tutorial on the YouTube channel if you’d like to follow along that way, I started out following videos until I learned the lingo of crochet.
Crochet Key
Before we dive into hooking yarn over and over again, we need to go over the Crochet Key terms. Now we don’t have anything fancy going on in this pattern, but let’s go over a few terms we are using so you can understand the lingo below in the pattern.
R1- Round 1 (our beginning round)
(7) – you will have different numbers in paratheses to tell you how many stitches you have in each round
MR- Magic Ring
INC- Increase (meaning to increase in the same stitch as number stated, like adding two jellybeans to the same cup)
SC- Single crochet (one stitch made. Ex; 1 jellybean in one cup)
BLO- Back Loop Only (you make two loops when creating a stich, we are only going into the back loop far away from us. Imagine a number 8 and you want to insert your hook into the top circle of the number 8 to achieve the back loop only.
DEC- Decrease (meaning to decrease your stitches. Ex; You have two cups of jellybeans; you combine the jellybeans into one cup.)
F/O- Finish Off (we are cutting our yarn and going to thread the remaining yarn into the embroidery needle, then starting from the inside, inserting the hook into the front loops, slowly closing up the hole. Tie a knot on the last one, insert yarn into work and tuck away. (See video for the Finishing off part if this description has you questioning what you just read.)
Now that our map key is figured out, the pattern below will only have the abbreviations for what we are doing. Refer back to it if you get lost. This is a very beginner friendly crochet pattern and only includes the basic crochet work.

Mystery Dumpling Crochet Pattern
Finally, we are getting to the good stuff. The Pattern! Let’s grab our hook, yarn, stitch marker, and drink, because staying hydrated is important for our brains to function for this pattern reading.
Also, if you struggle making a magic ring, hey same here, I chain 2, then insert my hook into the second chain from my hook (aka the first chain you made) then I crochet my 7sc in the magic ring.
- R1- MR 7
- R2- INCx7 (14)
- R3- SC, INC (21)
- R4- 2SC, INC (28)
- R5- SC in the BLO around (28)
- R6- SC, INC around (42)
- R7- SC around (42)
- R8- (2SC, DEC x 10), 2SC (32
- R9- (SC, DEC x 10), 2SC (22)
- R10- SC around (22) – Add eyes/ mouth/ stuff with polypill
- R11- (SC, DEC x 7), 1SC (15)
- R12- (DEC, SC x 5) (10)
- R13- F/O – cut median tail, grab your needle and sew the hole up.
- Grab White yarn with needle, insert into side, coming out the top, make about 5 lines going around then connect to side hole, tie a knot, cut extra yarn off, stuff inside.

Congrats, Crafter, you just crocheted your very own Mystery Dumpling!
Doesn’t it look so cute. And if this is your first time crocheting, don’t worry they look better the more you do it. Crocheting is like a fine wine, might be a bit weird in the beginning, but with time, it turns out beautiful.
Now you will see I haven’t included a crochet case. As I do have the pattern for one, I haven’t tested it as much as I have the Dumpling itself and that’s because I knew prepping for Geek’D Con, I wouldn’t have enough time to make Dumplings and Cases so I went to searching for something I could use that’s similar and I found these containers pictured below on Amazon. They are the perfect size for putting these Dumplings into.
Plus, the Dumpling stickers I made using my Theremal printer stuck perfectly to the sides of them. And no one complained about not having crochet cases too. Plus including the crochet cases meant I’d have to up my price on them and I was selling them for $8 dollars. With Sunday having a $3 dollar off deal being it the 3rd day of the event. They really went flying that day.
If you enjoyed this tutorial, make sure to let me know. This is my first crochet pattern I’ve made and shared so don’t go to negative in the comments section if I’ve miss explained something.
There are so many more crochet patterns I have already made, and they are patiently waiting for their time in the spotlight, so be sure to come back and check for more patterns. Plus, if you Subscribed to the YouTube channel, you would also see the video their too.